Club Class
At last, I can write about a finished room (oh yes, there was champagne!). More than a year since we first stripped the paint, I give you the club room.
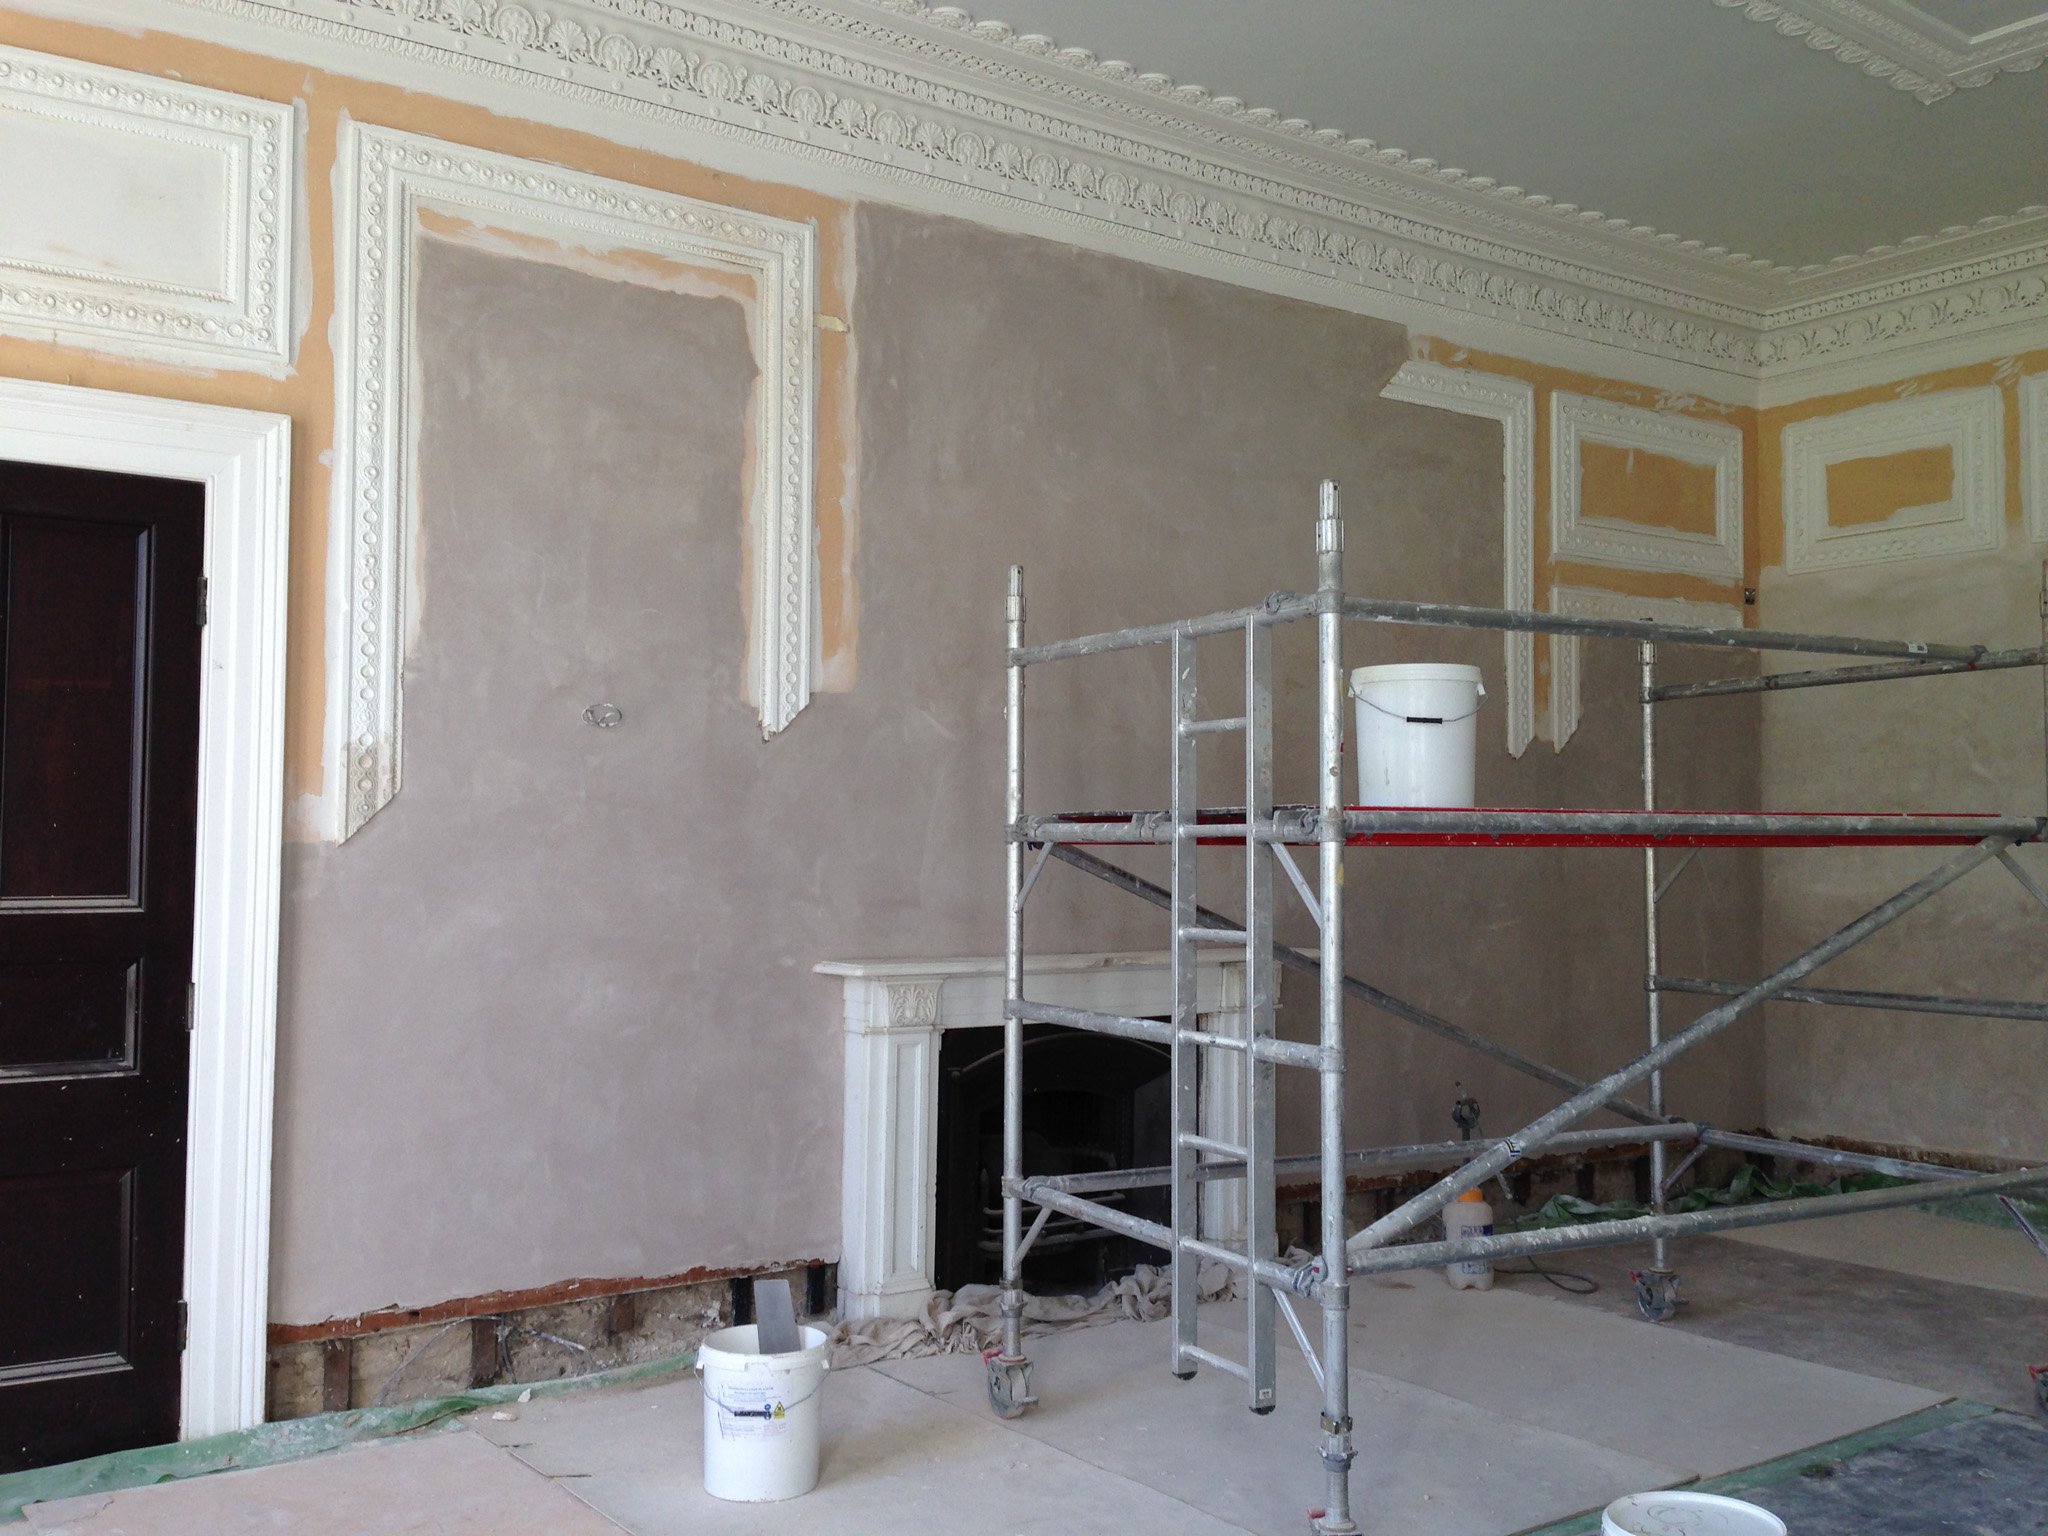
This is what it looked like when we first arrived.


I even quite liked the lemon colour, especially as it’s a lovely sunny south-facing room. We didn’t think it would be too big a job to smarten up as it didn’t seem in bad shape. But, of course, then you look closer, and the job grows.
Those cupboards or bookshelves between the windows, and the pelmets above were not original, and along with the modern radiators and makeshift school closets, they all had to come out. Behind the cupboards were two nice old cast iron radiators, though the boilers that serve them are long gone. (New boiler will have to wait for the work in other areas of the house to catch up.) We also had long discussions about the paint, and how to match in the old and newly repaired surfaces, and decided we had to strip the very thick (and in some places glossy) paint, even where the walls looked in good shape. Beneath the lemon was quite a striking shade of orange.
What you can’t see from the photos is that most of the walls were also boarded over with plywood, to around a couple of metres high. This was obviously quite an efficient way of student-proofing the walls, but to restore the room properly, we had to take it all down. Behind that things look a lot less pretty.


Luckily in here, we were clear of dry rot. But behind the boarding, the plaster was either missing, or blown, which means it is no longer attached to the wall or laths behind. And where the plaster has come away from the wall or wooden laths, unless you have access from the back, there’s no way to stick it back. So it ends up looking like this.


We saved as much of the decorative moulded frames as possible, stripping the paint again to show all the detail and cutting the edges neatly. Each of those impressions also has (or should have) a little flower stuck on. We imagine a lot of them didn’t survive the netball. More on this later.
We found a few other treasures along the way. Two old call bell systems were installed behind the laths, one mechanical, one electrical. Sadly, the butler didn’t come when we tried them. And under the floorboards a little stash of supplies (probably the oldest lager in the house) and an old biology textbook. And particularly in the moulded frames, you could see the old cattle hair used to strengthen the old plaster.


Stripped back to the walls, there was a bit of quick learning about how to put it all back together. We discussed the merits of new and traditional materials and because of the heritage and the grade 2 listing, concluded that we needed to repair the laths and re-plaster with traditional lime, even where it had been over-boarded previously. We are very lucky in Bideford to have a local, family run company that hand-makes lime products using the traditional methods, perfect for a heritage project like this, Heritage Cob & Lime. We had already used their products to repair and render some of the exterior walls, but were a bit worried that the finish would be a bit rough and rustic for the interior of such a fine moulded room. We needn’t have worried.
First step is the scat coat, a thin lumpy layer of runny lime mortar that acts as a key for the other coats. Traditionally it is quite literally thrown, or ‘harled’ at the wall with a special trowel, but to make things slightly easier, it can be unevenly splattered on with a piece of kit called a tyrolean machine. Notice the floor is well covered!


When this has dried white, there is a thicker coat of lime with hair mixed into it. When this has part dried or cured, the surface is scratched into wavy patterns to help the top coat bind.


This takes a couple of more weeks to dry, and is eventually followed by a smoother top coat without hair, and eventually after several more weeks a skim coat of very smooth lime plaster with lime putty, to give a lovely fine surface.


Before we had started stripping the plaster, we found a company that could copy and reproduce the moulding frames for us, FH Crockers. They took away a sample and measured up, and while we were working on the plaster, they manufactured a couple of hundred metres of new frame.
The ceiling, meanwhile, was in slightly better shape. We had the paint stripped off, as it was a bit glossy, and we rescued a few loose bits of the mouldings to experiment with casting replacements. Bespoke mouldings are not cheap, especially if you have just the odd one or two pieces of each design to repair, so we thought we should try some of the ceiling repairs, ourselves. I’ll cover this in another post.
We were lucky that the ceiling had only a few cracks, and once stripped of paint, our decorator worked his magic with the filler and suggested some thick fibrous lining paper to create a smooth finish. No skimming or replastering needed.


We painted with Earthborn claypaint, a lovely chalky breathable paint, suitable for use on lime plaster in a pale grey-blue shade ‘seagull’, with the white from the same range (a lovely old fashioned creamy white) on the mouldings and coving. The colour wasn’t chosen for blending with the orange.
After quite a number of weeks, when the lime was finally dry on the walls, Crockers came to fit the moulding frames.


Along with a few hundred small plaster flowers
Then we used another Earthborn claypaint colour, Gregory’s Den, a grey green, on the walls, with frames and mouldings to match the coving and ceiling mouldings.


The woodwork, especially the doors, and windows deserve a whole post to themselves. We had three complete windows made to replace the existing sashes, as they had been replaced (netball again?) with modern windows using non-matching panes (12 instead of 15 equal sized glass panes) and thick square section glazing bars. The once-beautiful mahogany doors needed stripping and repairing, filling in pin holes and removing protective panels. Then we researched finishes, varnishes, shellacs and so on, to try to recreate something like the original high-sheen look. Skirting was rebuilt and fireplace marble filled and touched up.


I’ll write more about the details, but for now, here we are all tidied up for Christmas, with a mirror, some beautiful David Hunt wall sconces from Castlegate Lights, and some Elstead picture lights.


Finally a mirror, some of our furniture, which had been wrapped and stored for months, and to top it all off, a Christmas tree.


